
# Getting Started
Editor: tidy3d.simulation.cloud
The Tidy3D Web GUI builds, runs and analyzes simulations in your browser. Each simulation lives in a project, and each project has one project type: FDTD, Mode, EME or Heat.
# Create Your First Project

Project types at the top of My Projects
- In the left menu, open My Projects.
- Point at a project type at the top, for example FDTD, and click + New Project below it.
- In Create New Project, check the project type tab: FDTD, MODE, EME or HEAT.
- Click the blank project, for example Blank FDTD Project, or start from one of the examples below it. FDTD, MODE, EME and HEAT projects can also start with Import from GDS File.
- The editor opens the new project, named Untitled. A new FDTD project first asks for the Wavelength Range of Interest: click OK to keep 1.5–1.6 µm, or change it.
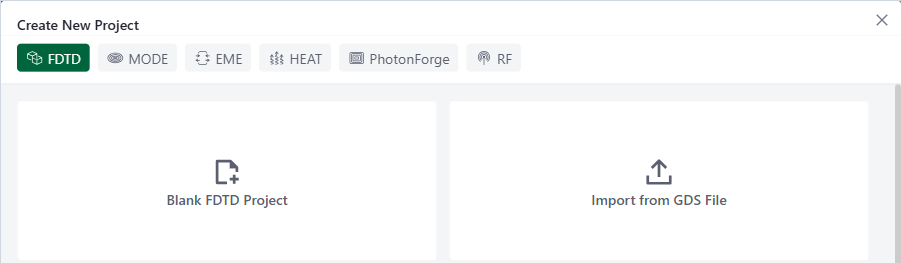
Create New Project dialog
# Build and Run It
- In the Model tab, add Structures and Mediums.
- In the Setup tab, add sources and monitors, and check the Configuration. The Setup sections differ by project type.
- Click Check Simulation at the top right. The editor validates the project and estimates its cost.
- When the check passes, the button becomes Run Simulation, next to Validation Passed and the Estimated Cost. Click Run Simulation to start.
- When the run ends, open the Results tab.

After a passed check
Cloud only
On the cloud, a run spends FlexCredits (FC). The estimated cost appears after the check, before you start the run. With a vGPU license, the button says Run Simulation With FlexCredits or Run Simulation With vGPU (see Run with vGPU).
# Next Steps
- FDTD, Mode, Heat and EME: what each project type is for.
- Project Editor: the tools that every project type shares, such as the File menu, versions, run and cost.
- My Projects and Shared Projects: folders and project actions.
- Learning Center (opens new window): video lectures about Tidy3D.